


Make a smart
Investment,
choose Pollard
Scott McGillivray
TV Host & Real Estate Expert


Make a smart
Investment,
choose Pollard
Scott McGillivray
TV Host & Real Estate Expert
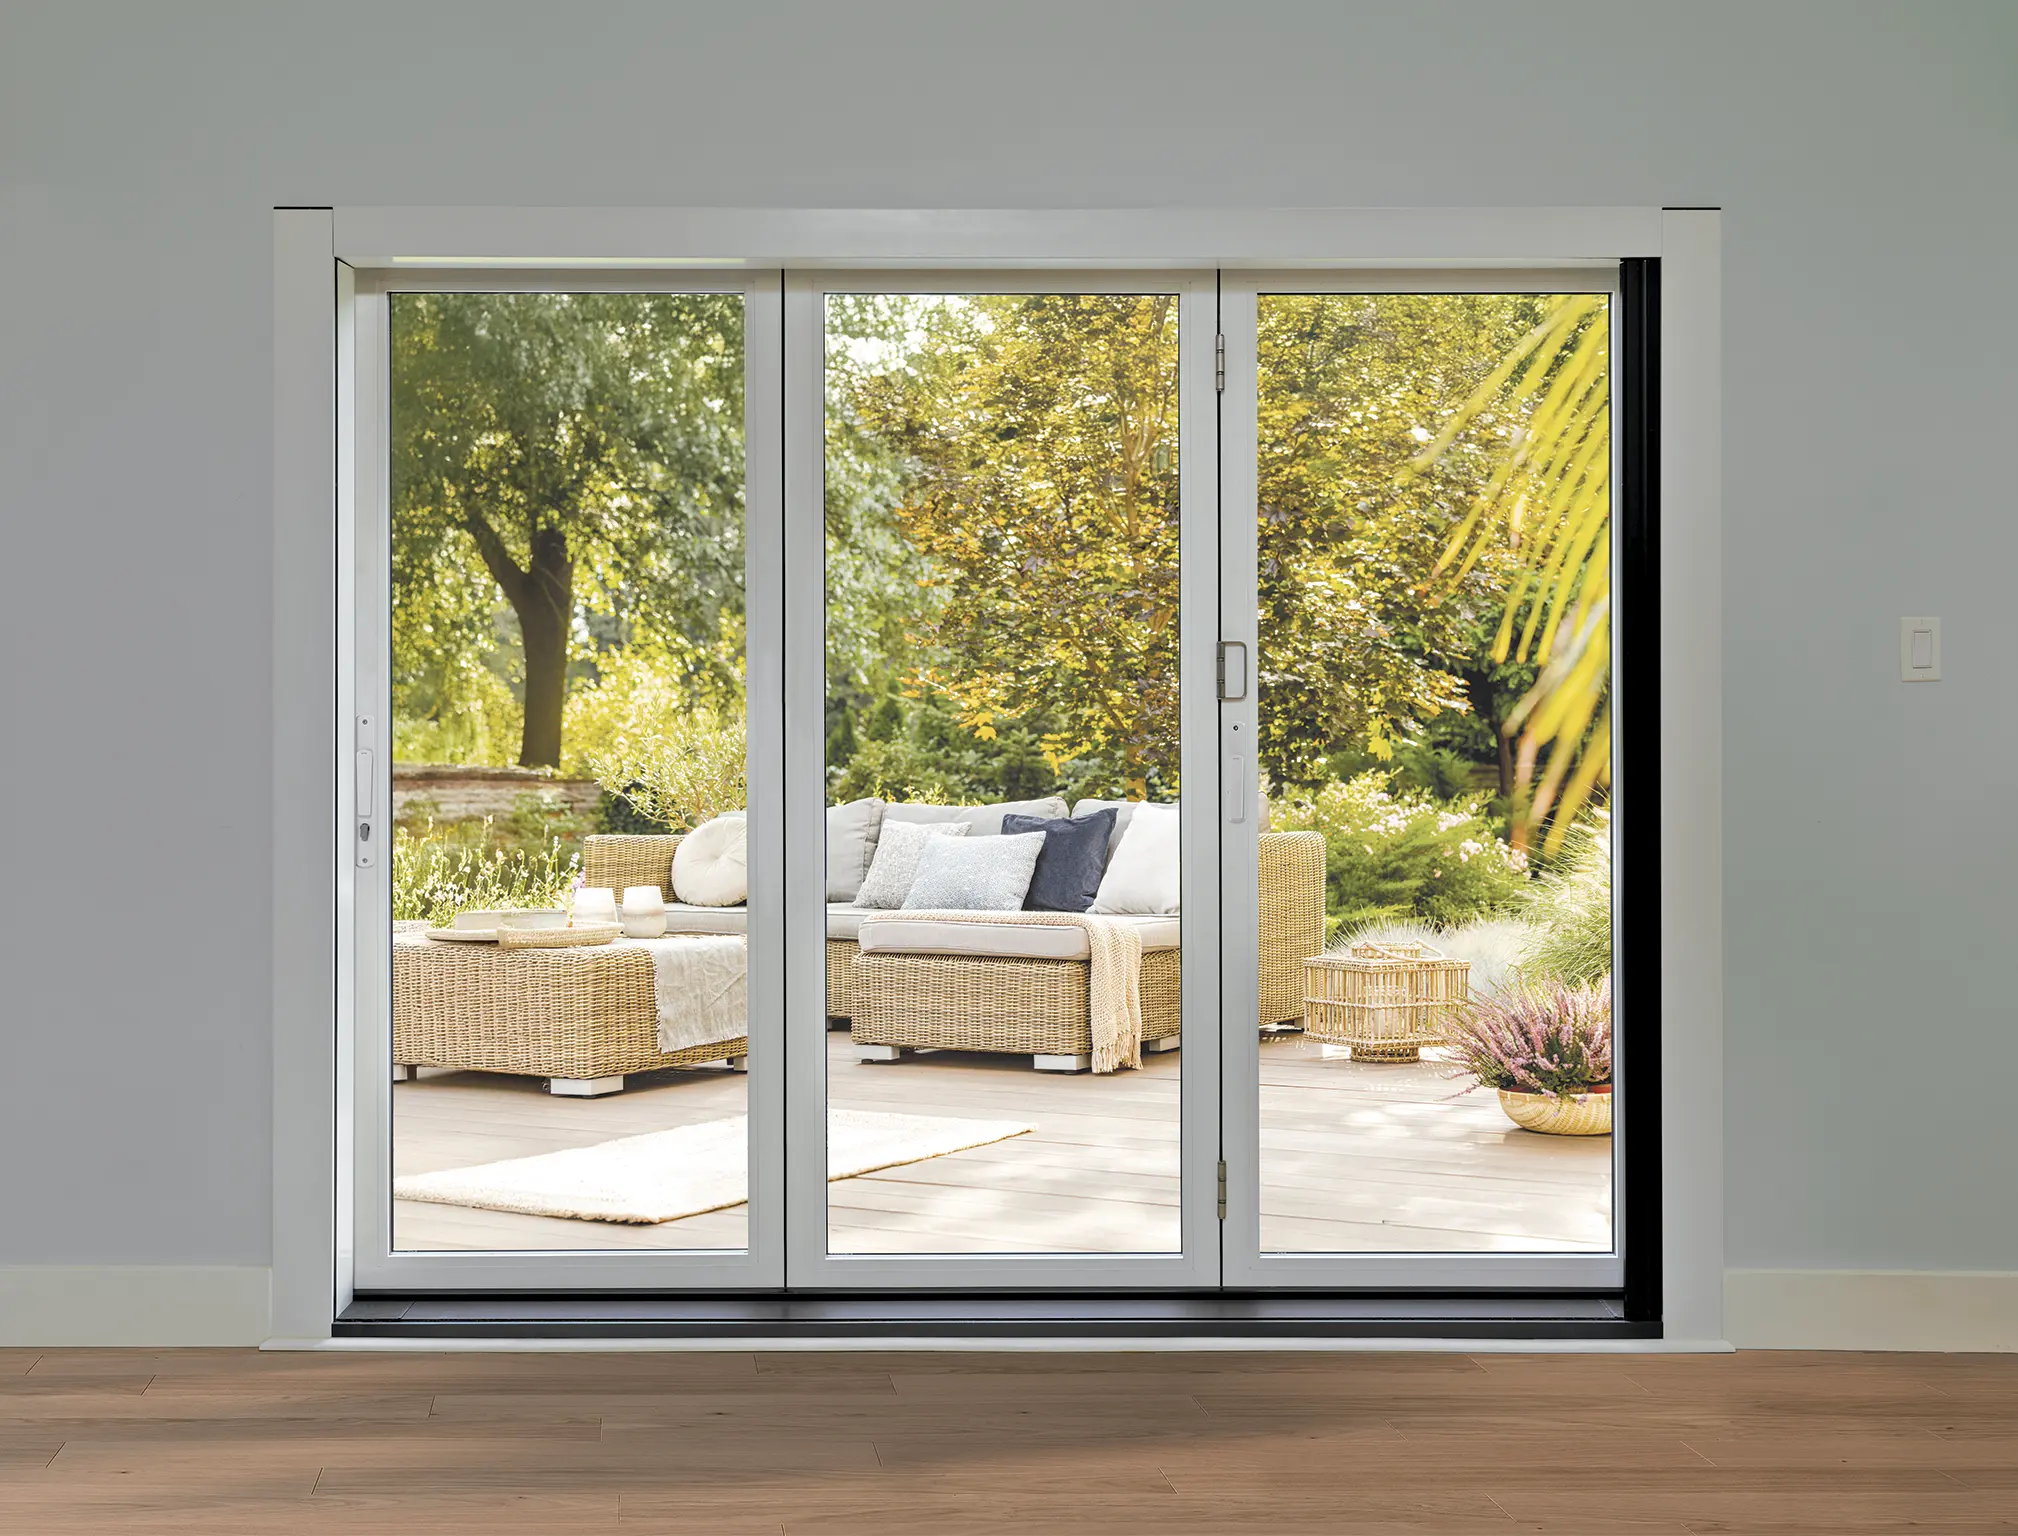
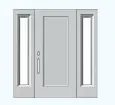
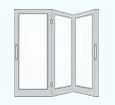
PanaView Folding Doors
Introducing our new premium multipanel folding door system. Designed for Canadian Climates, PanaView offers an innovative high-performance solution to enhance year round indoor-outdoor living.
Explore Our Products
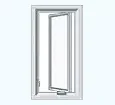
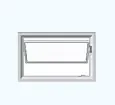
Advantage Plus products are designed and engineered for Best in Class performance for Dual and Triple Glazed units. Awarded the Energy Star Most Efficient mark. The perfect fit for multi-level buildings and traditional residential home construction.
Advantage Plus
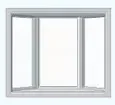
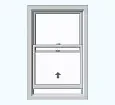
All-Vinyl Windows & Patio Doors
Intelligent design, exceptional curb appeal.


Liberty Collection
Premium Vinyl Clad Wood Windows
Making your dream home a reality.
WHY CHOOSE POLLARD WINDOWS & DOORS
Posted on

Proudly Canadian.
Trusted for over 75 years.
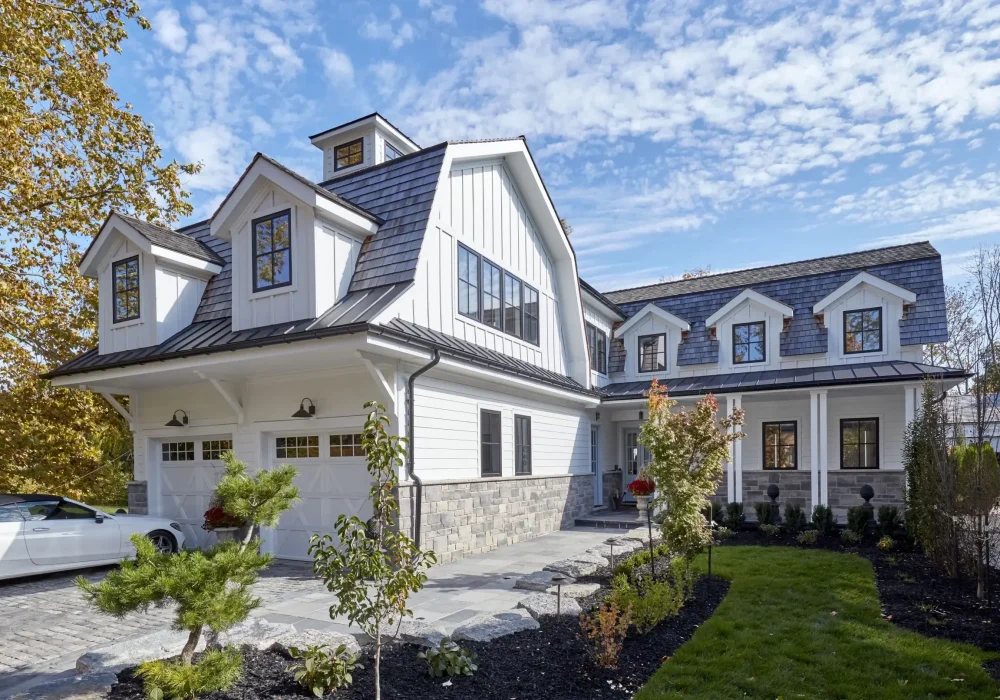
We are a proud Canadian window and door manufacturer with over 75 years in business, designing and developing high-quality products for residential replacement and new home construction.
As a fully owned and operated family business based in Burlington, Ontario, we specialize in professional window and door replacements, helping homeowners enhance their spaces with innovative and durable solutions tailored to their needs.
Full Service Renovation

Need Expert Advice?
Visit our Display Centres to explore our window and door products, styles and design options. Our expert renovation and new construction sales staff are ready to help.
